October 01, 2026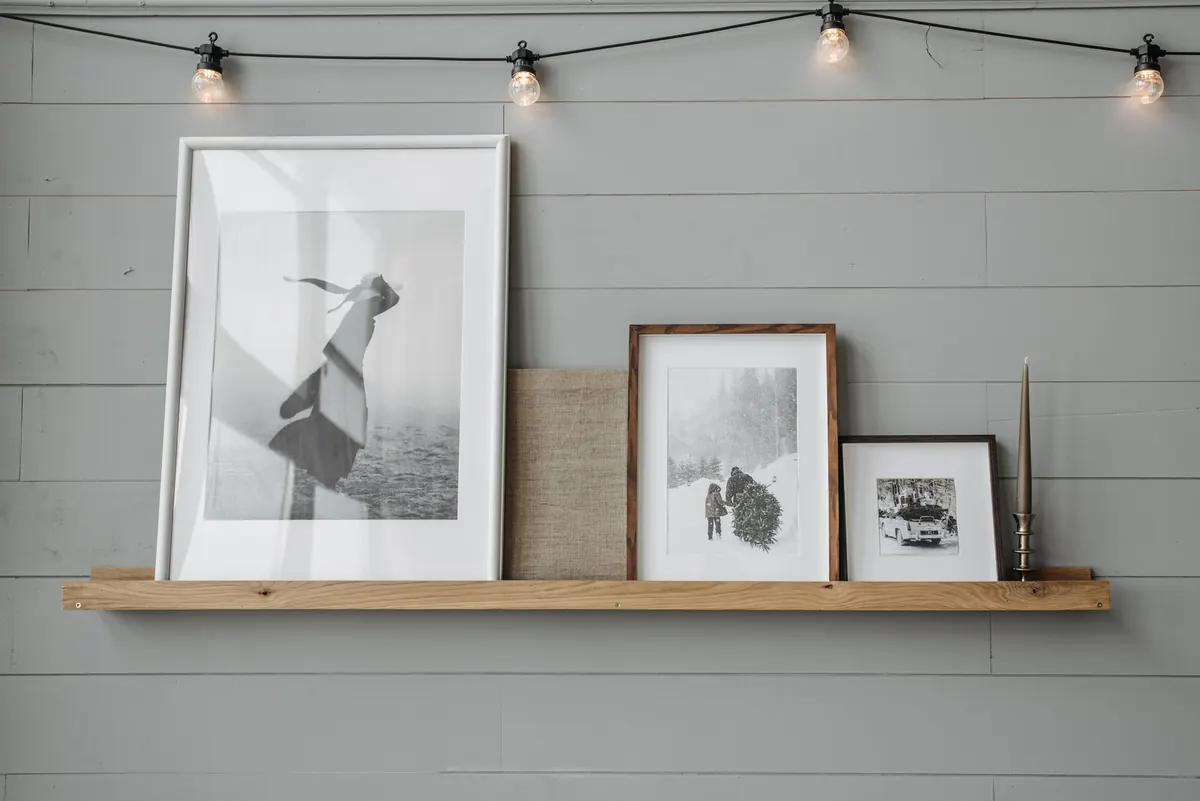
A shelf with no visible brackets looks effortless. In reality all the strength is hidden — inside the oak and behind the plaster. That is the appeal, and it is also why floating shelves so often go wrong. The board is rarely the problem; the fixing is.
The method here uses steel-rod brackets. A plate screws to the wall, two rods push into holes bored in the back of the shelf, and the timber slides over them. Nothing shows. Get the drilling and the wall fixing right once and you have a shelf that holds books and crockery without sagging.
Start With an Oak Board That Can Take the Span
Solid oak is the right choice: stiff, heavy and beautiful under a finish. For a general-purpose shelf, 40 mm thick and 200–250 mm deep is the sweet spot. Thinner boards look elegant but flex more, and leave less material for the bracket rods to bite into.
Length is where people overreach. As a rule of thumb, a well-fixed 40 mm oak shelf will span close to a metre with everyday loads before bowing becomes noticeable. Past 1.2 m, either thicken the board, accept a slight dip in the middle, or plan for a third bracket. Deep shelves sag sooner than shallow ones.
Buy kiln-dried timber, check it with a straight edge, and let it acclimatise indoors for a few days. Cut it long by a few millimetres and trim to fit on site — almost no wall is dead straight, and a gap at one end is far more obvious than a shelf that ends up slightly shorter than you planned.
Tools and Materials
- Solid oak shelf, 40 × 200 mm, cut to length
- Concealed floating shelf bracket kit, sized for the shelf
- Drill with a 10 mm masonry bit and a brad-point or dowel bit for timber
- Cable and pipe detector
- Spirit level, long straight edge, pencil, masking tape
- Scrap MDF or ply for a drilling template
- Resin anchors or expanding bolts for masonry
- Sandpaper in 120, 180 and 240 grit, plus a fine abrasive pad
- Hardwax oil, satin lacquer or soap finish, with cloths or a brush
- Block plane, chisel, and a small offcut for scribing
Drilling the Shelf for the Hidden Brackets
The bracket plate dictates everything. Its rods sit at a fixed spacing, so the holes in your shelf must match exactly. Transfer the rod centres onto a piece of scrap MDF at least as long as the plate, clamp that template to the back edge of the shelf, and drill through the guide holes. Three practice holes in an offcut will teach you more than any set of instructions.
Drill square to the back edge, checking the bit against a square in both directions, and mark the depth on the bit with masking tape. On a 250 mm shelf, rods buried 150 mm give plenty of grip. Make the holes half a millimetre wider than the rods: a tight hole binds, and forcing the shelf on chips the oak around the opening. Sharp bits, moderate speed, and clear the flutes often — oak burns if you let the bit sit and spin.
Fixings: The Wall Does the Work
Work out what the wall is made of before anything else, because that decides whether this is a straightforward job or a rethink.
- Solid masonry — brick, block or stone. The best case. Drill for resin anchors or expanding bolts, and aim for the middle of a brick rather than a mortar joint, which crumbles under load.
- Plasterboard over studs. At least two of the plate's screws need to land in timber. Shifting the shelf a few centimetres up or down usually solves it.
- Plasterboard on dot-and-dab, or a stud wall with no usable studs. Heavy-duty plasterboard fixings will not hold a loaded oak shelf. Add noggins, or screw a plywood back board to the framing behind.
- Older lath and plaster. Expect to find timber behind and a surface well out of level, which means scribing the shelf later.
Run a cable and pipe detector across the whole shelf line before you drill — a minute's work that saves a very bad afternoon. If the wall is structural, or you are unsure it will take the load, ask a builder or structural engineer rather than guessing.
Fitting the Shelf Level
Set out the shelf height with a laser or a long level, then subtract the plate so the finished shelf top lands on your line. Mark across the width of the shelf plus a little either side. Offer the plate up, check it for level in both directions, and mark the holes with a bradawl rather than a pencil so the bit cannot wander. Drill, vacuum the dust, fix the plate, then check it again — a plate that is a degree out will be obvious under a metre of oak.
Wipe the rods, smear them with paraffin wax or dry soap, and slide the shelf on squarely with the heel of your hand. If it stops short, take it off and find the tight spot rather than forcing it. Where the wall is uneven, scribe the back edge: hold a small offcut flat against the wall as a spacer, run a pencil along it to copy the wall's shape onto the oak, and plane back to the line.
A Finish That Survives Kettle Steam and Coffee Rings
Sand through 120, 180 and 240 grit. Wipe with a damp cloth to raise the grain, let it dry, then denib with 240. Ease the sharp edges with a couple of passes of a plane or sanding block; a crisp arris looks lovely until it dents.
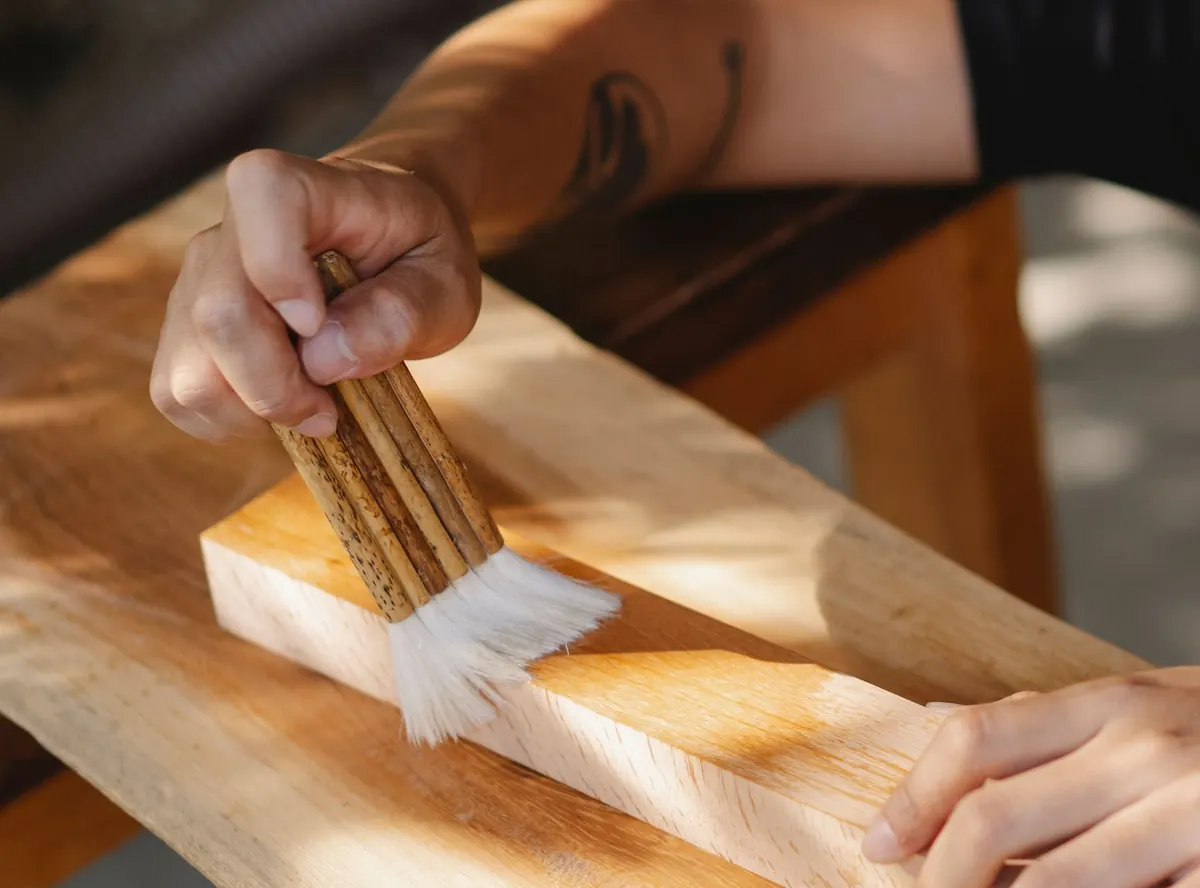
Hardwax oil suits a living room shelf. It soaks in rather than sitting on top, lifts the grain, and can be spot-repaired without sanding the whole board. Apply thin coats with a cloth, leave fifteen to twenty minutes, then wipe off the excess. Two or three coats, denibbed lightly between, is plenty. The oak will darken slightly — that is the oil, not a mistake.
Water-based satin lacquer builds a harder film and copes better with steam and splashes, which makes it the better choice for a kitchen or utility room. Soap finish keeps the oak pale and matt but offers little resistance to water. Whichever you use, seal every face: underside, ends and the insides of the bracket holes. Finishing all sides lets the timber move evenly instead of cupping.
Two Checks Before You Load It Up
Press down hard on the middle of the shelf with the flat of your hand. You are feeling for movement at the wall, not flex in the oak. If the plate rocks or the shelf creeps forward, stop and sort it out — when a shelf fails, it does so suddenly, usually with your best crockery on it.
Load it gradually over a day or two, keeping the heaviest things near the ends where the brackets sit. Oak moves with humidity, so keep it clear of radiators and the direct path of a boiling kettle. A fresh coat of oil once a year, and the shelf will outlive the paint behind it.
Photo: Pavel Danilyuk / Pexels