September 13, 2026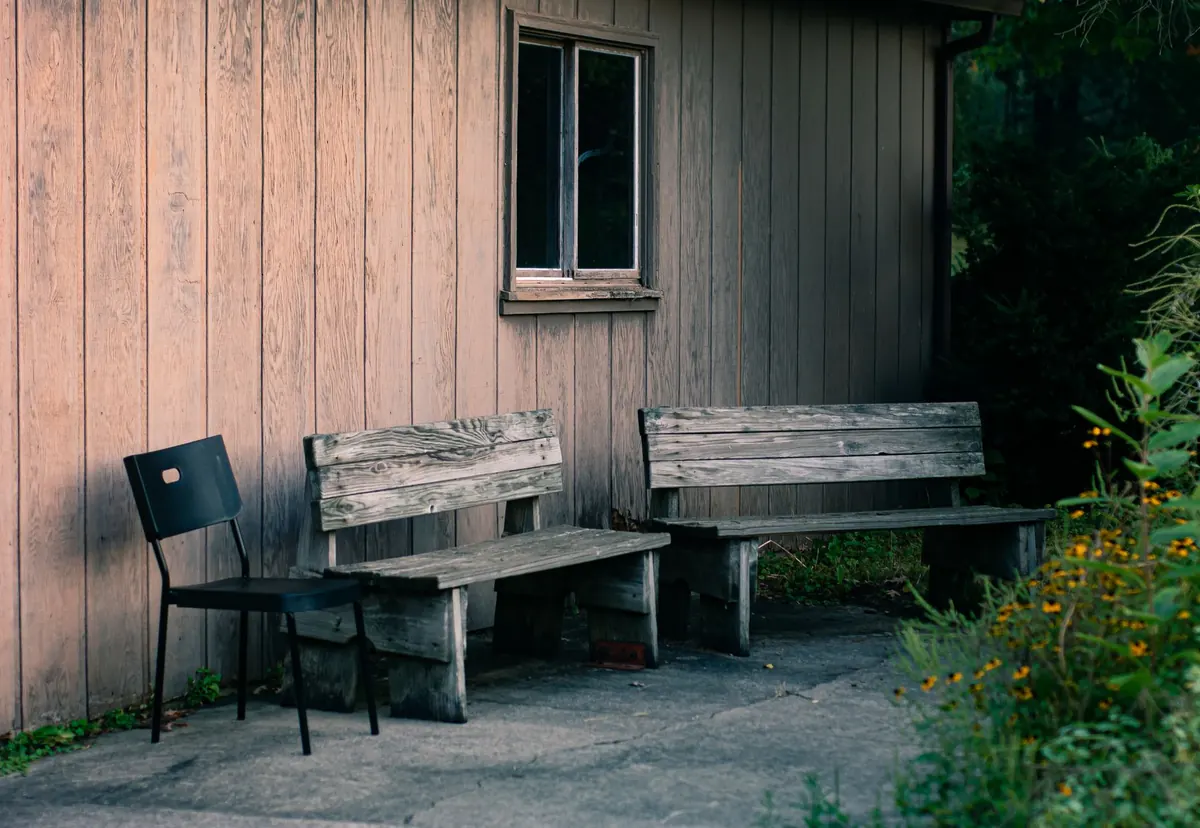
An oak bench left out in the rain will outlast most of the furniture inside your house, provided you build it with the weather in mind. This one is made from slats and simple mortise-and-tenon joints, cut and fitted entirely by hand. No table saw, no router, no noise. A decent saw, two sharp chisels and a few evenings in the workshop will do it.
Start with the Right Oak
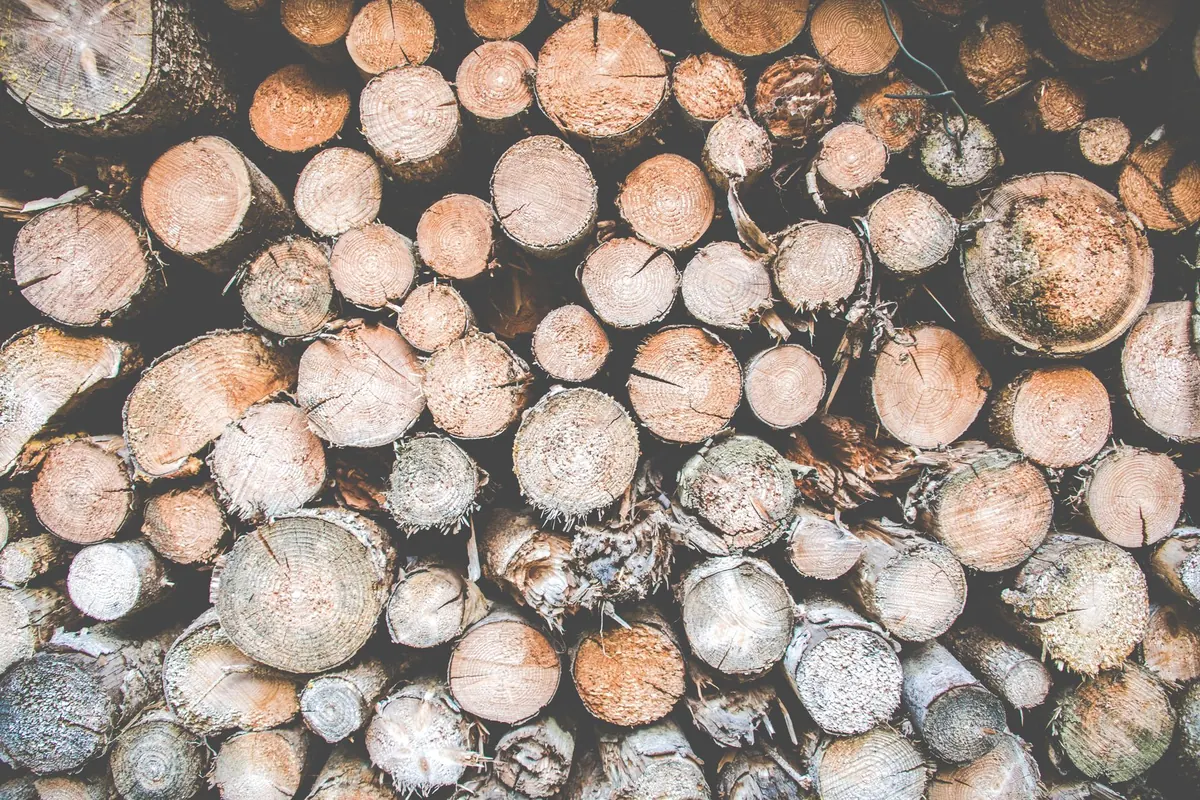
European oak, whether English, French or German, is the sensible choice for garden furniture. The heartwood is naturally durable, and it weathers to a soft silver-grey that suits a border or a patio better than any stain. Buy properly seasoned stock, and if the sawn ends feel cold and damp against your cheek, leave the boards in the workshop for a fortnight before you cut anything.
For the seat slats, ask for quarter-sawn boards if your merchant has them. They move far less across the width, which matters when a slat is only 20 mm thick and will be rained on for a decade. Reject any board with a lot of pale sapwood along the edge; sapwood is not durable and will be the first part to go soft.
One thing worth knowing before you buy fixings: oak is full of tannins that react with iron. Mild steel screws and nails stain the timber black and rust away in a couple of seasons. Use stainless steel, silicon bronze or hot-dip galvanised fixings throughout.
Tools and Timber
Nothing here is exotic. If you own a bench plane and a set of chisels, you are most of the way there.
- Tenon saw and a coping saw for waste removal
- Bevel-edge chisels, 6 mm and 12 mm, honed properly
- Marking gauge, mortise gauge and a good combination square
- Brace and bit, or a hand drill, with 6 mm, 8 mm and 10 mm bits
- No. 4 or 5 bench plane and a block plane
- Spokeshave for shaping edges and easing the slats
- Wooden mallet, sash cramps, a card scraper
For a bench roughly 1.2 m long with a 450 mm seat height, you will need around 2.4 m of 45 x 45 mm oak for the legs and back uprights, 2 m of 45 x 70 mm for the seat rails, and about 4 m of 45 x 20 mm for the slats. Add ten per cent for waste and the odd misjudged cut.
Marking Out and Cutting the Joints
Work from a rod: a strip of scrap timber with every measurement marked on it in pencil. Set the leg positions, the seat rail heights and the backrest angle on that rod, and you will not have to keep reaching for a tape.
Cut the legs to length, then mark the mortises from the rod, transferring the lines right around the timber with the gauge so the joint cannot drift. Chop them from both faces, working halfway through from each side. Take your time here. A mortise that is 1 mm too wide will show up as a wobbly bench.
The seat rails get a haunch on the top edge and a tenon about two-thirds the thickness of the rail. Saw down the cheeks, remove the waste with the coping saw, then pare back to the line with a wide chisel. Test each tenon against its mortise before moving on; a shoulder that seats cleanly needs no filler and no swearing.
Drawboring for a Bench That Stays Tight
External glue lines fail eventually, so rely on the joint rather than the adhesive. Drawboring is the traditional answer. Drill an 8 mm hole through the mortise cheek, then drill the matching hole in the tenon about 2 mm closer to the shoulder. Drive a chamfered oak or ash dowel through both, and the offset pulls the joint up tight with real force.
Do this on the four leg frames and the bench will stay rigid even if the glue gives up in a wet winter. Leave the dowels slightly proud, then plane them flush once the frame is together.
Shaping and Fitting the Slats
Plane the slats to a consistent thickness, then ease the top edges with a block plane or spokeshave. A small chamfer or a rounded arris does two jobs: it is kinder to the back of your legs, and it stops water sitting on a sharp corner where it can soak in.
Lay the slats across the seat rails with 10 to 12 mm gaps between them. That spacing lets rain run straight through instead of pooling on a solid top. Fix each slat with two stainless screws per end, drilled through clearance holes in the slat and pilot holes in the rail. Make the holes in the slats a fraction oversized so the timber can move with the seasons without splitting.
If you want a backrest, angle two uprights back by around 12 degrees, tenon them into the rear legs, and run three slats between them at the same spacing.
Gluing Up
Dry-fit the whole bench first. Number every joint with a pencil, check the diagonals with a tape to confirm it is square, then take it apart.
Use a waterproof adhesive: a polyurethane glue or a D4-rated PVA. Ordinary interior PVA has no business outdoors. Glue, assemble, and pull the frames together with sash cramps, checking the diagonals again before the glue grabs. Wipe the squeeze-out while it is still soft. Once everything is dry, plane the dowels flush and give the whole bench a light going-over with a card scraper and 120-grit paper.
Before it goes outside, chamfer the bottom 10 mm of each leg. End grain acts like a bundle of straws, and a chamfer keeps it out of direct contact with a wet patio.
Finishing and Aftercare
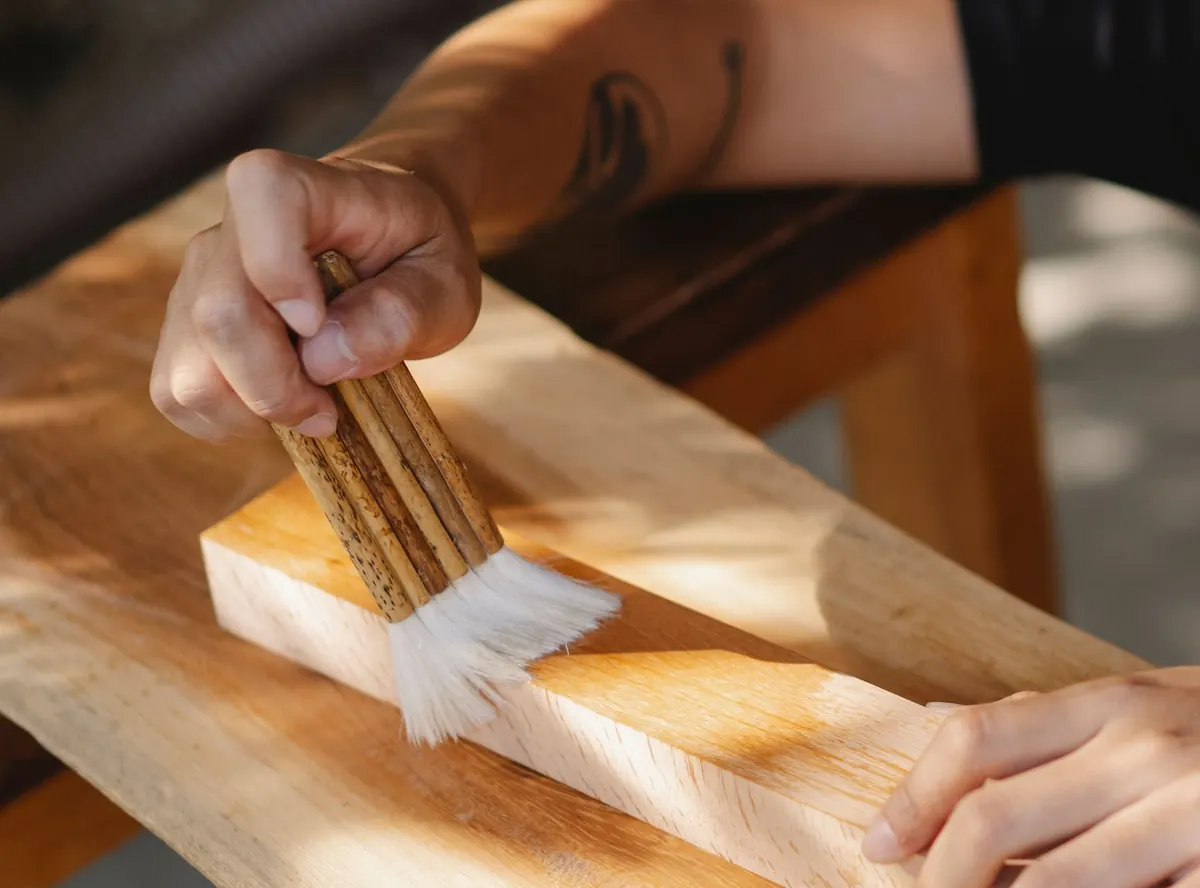
You have two honest choices. Leave the oak bare and let it weather to grey, or feed it with a dedicated exterior wood oil twice a year. Avoid boiled linseed oil on its own, as it feeds mould, and be wary of film finishes that crack and trap water underneath.
Keep the bench on paving, a gravel pad or a couple of bearers rather than damp grass, and it will last for decades. Twice a year, in spring and autumn, check for water sitting in the joints, re-oil the slats if water has stopped beading, and tighten anything that has worked loose. Move it under cover for the worst of the winter if you have somewhere to put it. Build it well now and this bench will still be holding your weight when the shed has rotted away.
Photo: Steve A Johnson / Pexels