September 14, 2026
Most UK workshops begin life as a garage with a lawnmower in the corner, or a shed with a slightly damp floor and a spider problem. That is a perfectly good starting point. You do not need a workshop the size of a double garage with a table saw in the middle of it. You need a solid bench, decent light, a way to deal with dust and somewhere sensible to put things. Get those four right and you can build furniture in a space barely wide enough to park a small car.
Start with the bench
Everything else follows from the bench. If it wobbles, you will fight it on every cut; if the top is too thin, it will drum and bounce when you plane. Build or buy something heavy.
Height matters more than looks
Stand up with your arms relaxed by your sides. A bench top that lands somewhere around your knuckles suits most people — for many that is roughly 850–950mm, but your own proportions decide it. If you plan to do a lot of hand planing, go a little lower so you can lean your weight through the cut. If you do mostly fine work with chisels and small saws, go higher and save your back.
Make it heavy
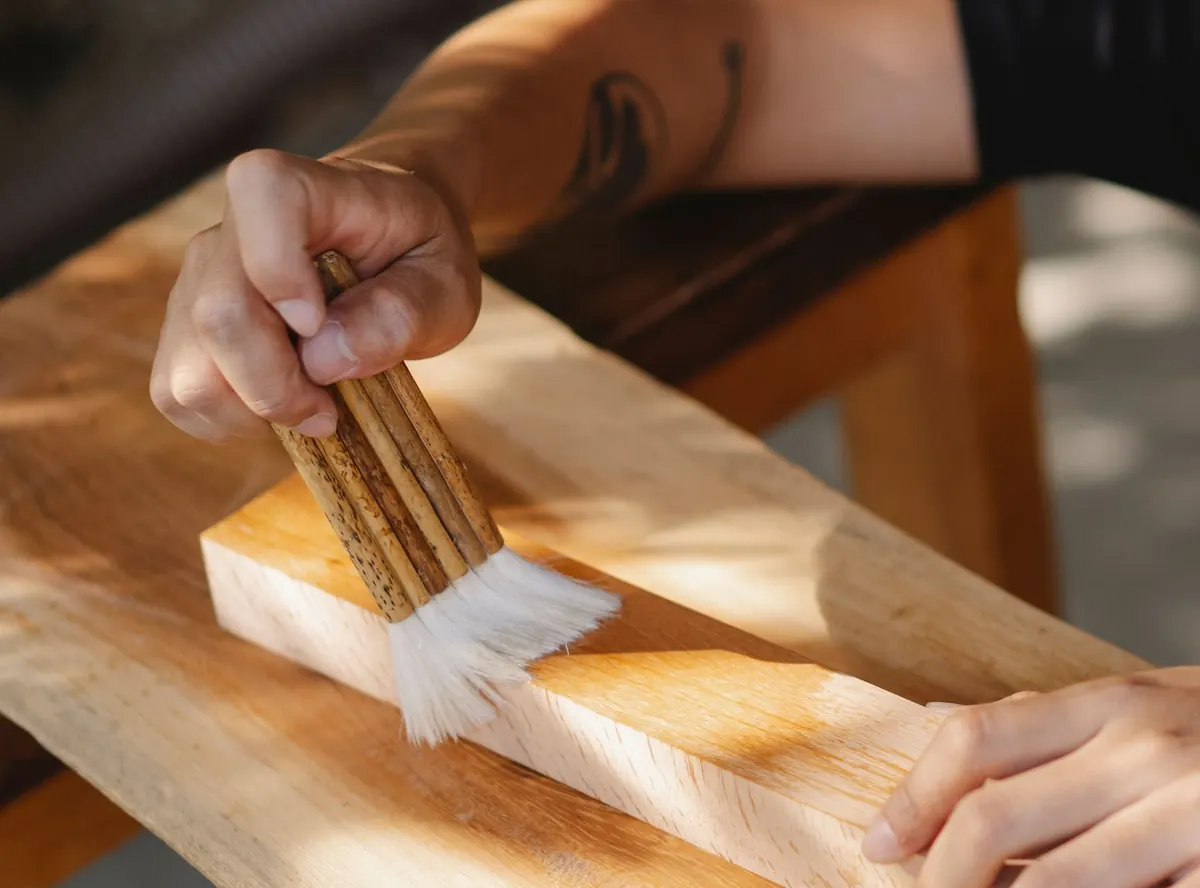
A top of 40mm is a good target. Two sheets of 18mm MDF glued and screwed together and edged with a strip of hardwood makes a flat, dead surface cheaply. Bolt the whole thing to the wall with brackets if the frame alone is not stiff enough, and add a vice at one end — jaw flush with the front edge, so you can clamp long boards vertically for sawing. A planing stop (a scrap of wood held in the vice or through a dog hole) turns a flat bench into a proper workholding setup.
Hand tools worth buying first
You do not need a 200-piece kit. You need a small number of tools that cut properly, and you need to learn to sharpen them.
- A saw or two. A 250–300mm tenon saw for joinery, plus a crosscut panel saw or a Japanese pull saw for sheet goods.
- A bench plane. A No. 4 or No. 5 will do a great deal of work. Buy a good second-hand one rather than a cheap new one, then flatten the sole and sharpen the iron.
- Chisels. Start with 6mm, 12mm and 25mm bevel-edge chisels. Add more when a job asks for them.
- Marking kit. A 150mm engineer's square, a marking knife, a marking gauge and a sharp pencil. Accurate layout saves more timber than a better saw ever will.
- A mallet, a bradawl, a screwdriver set and a 600mm steel rule. Unglamorous, used constantly.
- Clamps. Four to six F-clamps, plus sash clamps once you start gluing up panels. You can never have too many.
- Sharpening. One combination oilstone or a diamond plate, plus a honing guide if you are new to freehand sharpening.
- A cordless drill driver, a set of bits, and safety gear: eye protection, ear defenders and a decent mask.
Buy the bench plane, chisels and square second-hand if you can find them in good condition. Old hand tools are often better steel than budget new ones, and they hold their value.
Light, and plenty of it
Dim light in a workshop is not just annoying; it makes you stand too close to your work, and it hides the pencil line you are trying to cut to. Fit LED batten lights across the ceiling rather than one bulb in the middle. Two runs of batten, placed either side of where you stand at the bench, light the work without your own shadow falling across it.
Add a task light you can move — an anglepoise or a magnetic LED — for chisel work and for checking a surface before finishing. Do not run power along the floor where you will trip on it. Sockets at bench height, protected by an RCD, make life much easier. If you need a new circuit run out to a shed or garage, use a registered electrician: outdoor supplies, earthing and protective devices all have to be right, and installing circuits yourself is not something to guess at.
Keeping dust under control
There are two kinds of mess in a workshop, and they need different answers. Shavings and chips are a nuisance: they build up under the bench and make the floor slippery. Fine dust is the one that matters for your lungs, particularly sanding dust and anything from MDF or hardwoods. Take it seriously from day one.
Capture dust at the tool wherever you can. A workshop vacuum with a fine filter, plugged into a tool-triggered socket, will catch most of what a sander or router throws out. Adding a cyclone separator in front of the vacuum keeps the filter from clogging so quickly. If you sand a lot, look at an extractor with proper fine filtration rather than a household vacuum.
Where you cannot capture it, wear protection. A well-fitted disposable FFP2 or FFP3 mask works for short sessions; a reusable half-mask with P2 or P3 filters is more comfortable and cheaper over time. Fit is everything — stubble breaks the seal on a disposable mask, so a clean shave or a powered respirator is the reliable option.
Never clear a bench with compressed air. It does not remove dust, it just launches it into the air you are about to breathe.
Sweep and vacuum at the end of every session. Two minutes with a brush and a dustpan keeps the space usable and stops dust migrating onto every surface in the shed.
Storage that works in a small space
Go vertical. A French cleat wall — horizontal battens ripped at 45 degrees and screwed to the shed frame — lets you hang holders for chisels, squares, clamps and drills, and move them around as your kit changes. It is cheap, quick to make and endlessly rearrangable.
Under the bench, use drawers rather than open shelves. Drawers keep dust off your tools and stop the space becoming a dumping ground. Keep heavy items low and frequently used items within arm's reach of where you work.
Sheet goods want to stand vertically, either against a wall with a bracket or on a wheeled trolley you can tuck away. Put offcuts in labelled clear boxes so you stop cutting new pieces because you cannot find the old one. If machinery has to share the space with a car, put everything on castors: pull it out to work, push it back afterwards.
Do not overlook damp. Cold sheds and garages rust tools and warp timber. Keep a gap between stored boards and cold walls, lay a sheet of plywood or a rubber mat over a bare concrete floor, and wipe hand tools with a light oil before they go away. Ventilate when you can.
Making it yours
Build the workshop in the order the jobs demand. Bench first, then light, then dust control, then storage. Buy tools as projects call for them rather than all at once — you will make better choices once you know what you actually reach for. Start with one straightforward project, a small stool or a wall shelf, and let the space adapt around the way you work. A workshop that grows slowly usually ends up better than one kitted out from a catalogue in a single weekend.
Photo: Ono Kosuki / Pexels