September 24, 2026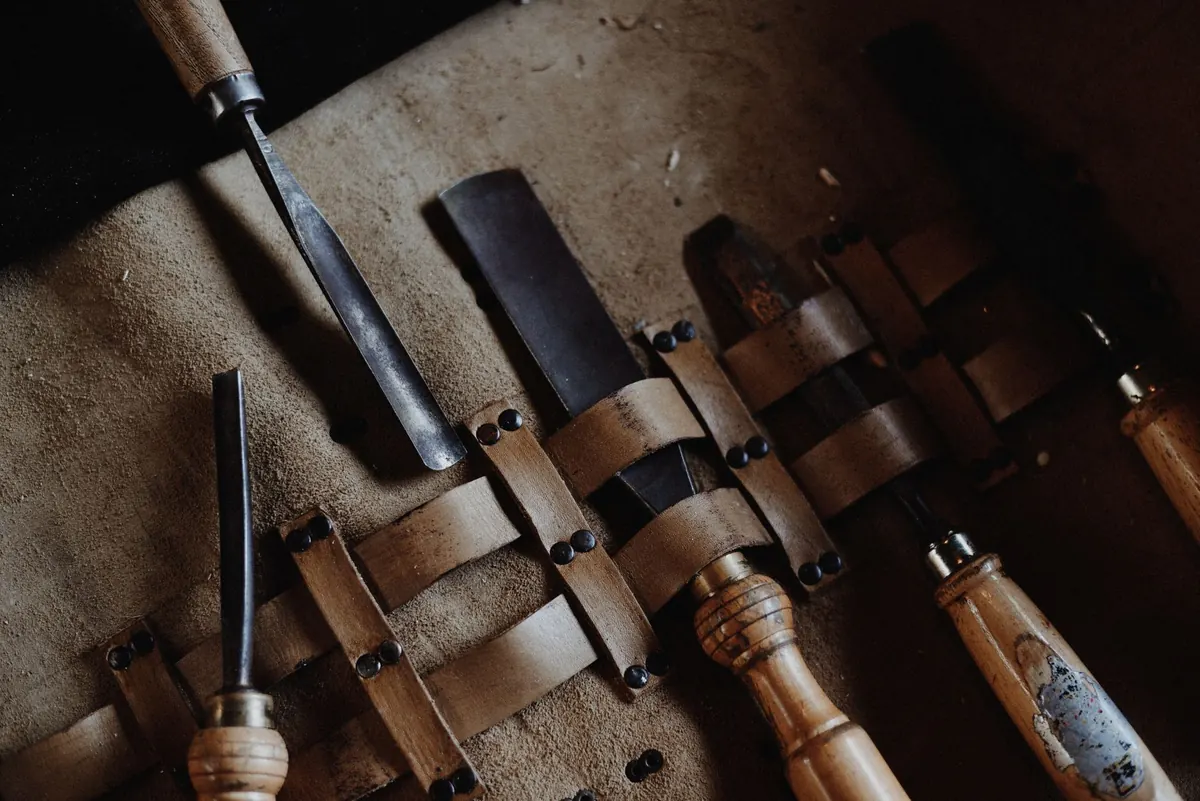
Relief carving looks like conjuring from the far side of the bench. A flat board becomes a cluster of leaves, an acorn, a horse's head — all of it standing a few millimetres proud of the background. Then you pick up a gouge for the first time and discover that the work is not really in the cutting. It is in reading the grain, matching the curve of the tool to the shape you want, and keeping an edge sharp enough to slice rather than scrape.
Get those three things roughly right and relief carving becomes calm and oddly rhythmic. Get them wrong and you will spend an afternoon tearing fibres and wondering why the wood is fighting back.
Start shallow, and start flat
Relief carving means carving a design so it stands above an uncarved ground, usually to a depth of somewhere between three and eight millimetres for a first project. It is not sculpture in the round. The board stays flat on the bench, which is a huge advantage: you have both hands free to control the tool and no awkward clamping in mid-air.
Wood choice matters more than most beginners expect. Lime (called basswood in North America) is the traditional beginner's timber in Britain — soft enough to cut cleanly, firm enough to hold detail, and forgiving of a hesitant stroke. Jelutong behaves similarly. Pine works if you pick a clear, straight-grained board with no knots. Oak and ash are lovely to look at and horrible to learn on: they show every hesitation and dull an edge quickly.
Keep your first design simple. A single leaf, a shell, a bold letter. Draw it in pencil directly on the wood; no shading, just the outline.
Four cuts that do most of the work
Almost everything in low relief comes down to four motions.
- The stop cut. Hold a chisel or gouge vertically on your drawn line and tap or push it straight down. This makes a wall, so the next cut stops cleanly instead of tearing into the shape you are protecting.
- The outline cut. Use a gouge whose sweep (the curve of its blade) matches the curve of your line, and cut down along the stop cut to your working depth.
- Waste removal. Take the background down in layers rather than one deep bite. Work from the open middle of an area towards the stop cuts, so the fibres are supported as they part.
- Grounding and levelling. A flat chisel or shallow gouge, used in overlapping shallow passes, leaves an even floor. A lumpy ground is the thing most likely to spoil an otherwise good panel.
- Undercutting. A fine cut tucked under the edge of the raised shape. It costs a minute and buys real shadow, which is what makes relief read from a distance.
Two millimetres per pass is plenty. Carving is not about force; it is about cutting to a line you have already established.
Read the grain before you cut it
Wood behaves like a bundle of drinking straws. Cut along the straws and the blade shears them cleanly. Cut into the ends and it digs in, lifts, and tears. On a board, the straws mostly run lengthways, so one direction of travel cuts cleanly and the opposite direction lifts splinters.
Find the easy direction with a test. Take a light paring cut with a flat chisel at the end of an offcut, first one way and then the other. One will feel like slicing cheese; the other will grab. You can also drag a thumbnail along the surface — it catches when you are travelling against the fibres.
Where beginners come unstuck
On a curved shape, the grain does not follow your pencil line. At some point around each curve the fibres reverse, and the cut that was slicing beautifully starts to tear. The fix is simple: cut from each end of the curve towards the point where the grain turns, rather than running the whole curve in one direction. With practice you will spot that reversal point before the tool does.
Two other habits are worth building early. First, cut from the outside edge of the board inwards where you can, so any breakout happens in waste rather than on the finished edge. Second, keep a raking light — a small lamp held low and to one side — so you can see torn fibres and ridged ground while the panel is still on the bench. Raking light makes a flat surface look like a ploughed field, and it tells you the truth about your levelling.
Choosing chisels: sweeps first, widths second
Sweep numbers describe how curved a gouge is. A #1 is flat; #3, #5, #7 and #9 get progressively deeper. Widths are given in millimetres. Annoyingly, makers number their sweeps differently, so a #5 from one range may not match a #5 from another. Buy individual tools rather than a huge set, and handle them if you can before parting with money.
A sensible starter selection for a beginner panel:
- Straight gouges in a shallow sweep (#3 to #5), around 6mm and 12mm wide — these are your workhorses for hollowing and background.
- One or two deeper gouges (#7 and #9), 6mm wide, for tight curves and undercutting.
- A 60-degree V-tool, roughly 10–12mm, for outlining and cleaning up the corners of a design.
- A flat chisel, 12–20mm, for levelling ground and paring straight edges.
- A small skew or fishtail gouge to reach into corners where a straight blade cannot go.
Palm-sized tools are handy for fine detail, but for low relief on a board you will do most of the work with full-length tools, sometimes pushed by hand and sometimes tapped with a light mallet.
Sharpening is the whole game
Carving edges are usually ground a little shallower than carpentry edges — around 20 degrees is a common starting point — because the aim is slicing, not leverage. A diamond plate or a waterstone takes care of the outside bevel. The inside bevel, the hollow face of the gouge, should be touched only enough to remove the burr, using a slip stone or a shaped hone. Grind away at the inside and you will slowly change the curve of the tool and ruin it.
Finish on a leather strop charged with polishing compound, and strop every fifteen or twenty minutes of work rather than waiting until the tool feels dull. A useful test: a properly sharp gouge will shave the end grain of a pine offcut and leave a polished surface rather than a crushed, fuzzy one.
Holding the work and the tool
Use a bench hook or a carving vice so the panel cannot shift, and put a non-slip mat underneath if you are working at a bench edge. Grip the handle with one hand and guide the blade with the other, bracing a thumb against the wood so you always have a physical stop before the edge reaches your fingers.
Never place a hand in front of the cutting edge, and never in the line the tool would travel if the wood suddenly gave way. Blunt tools are more dangerous than sharp ones: they encourage pushing, and pushing leads to slips. If you are sanding afterwards, wear a dust mask.
Your first practice panel
- Take a piece of lime about 150mm by 100mm and 20mm thick, with straight grain running along the length.
- Draw a simple leaf with a central vein and a few side veins. Keep the shapes generous.
- Outline the whole design with the V-tool or a deep gouge, cutting straight down to establish a stop cut.
- Remove the background around it with the shallow gouges, layer by layer, working from the middle of open areas outwards and changing direction at the grain reversal points.
- Level the ground with the flat chisel in overlapping passes, then check it under raking light.
- Undercut the edge of the leaf, tidy the veins, and give the panel a light coat of oil once you are happy.
Carve the same design three times on three offcuts before you commit to anything you care about. The grain will teach you more in an afternoon than any book, and the second attempt will already look nothing like the first.
Photo: Cihan Yüce / Pexels