September 21, 2026
Birch is one of the kindest woods to put a knife to. It grows quickly, splits straight, and while it is still green — freshly cut and full of sap — it cuts cleanly and predictably. A spoon makes a good first project because it teaches almost everything: reading grain, controlled axe work, a few knife cuts, and the patience to let the wood dry without cracking. You need a short log, two sharp tools and an afternoon. Your first spoon will not be beautiful, but you will eat with it.
Why Green Birch Is Worth Starting With
Green wood has not been dried, so it is softer and far less brittle than a seasoned board. Birch has a fine, even grain with little of the split-prone attitude you get from oak or ash, which is why so many first spoons are birch spoons. It also grows everywhere, and a branch brought down by a winter gale is free material.
Use it soon after cutting. A log left in a warm workshop will harden and grey within a couple of weeks. Store spare lengths in a cool, shaded spot off the ground, and if a blank has gone hard, soak it in water overnight — it will carve more kindly in the morning.
Tools, and Keeping Your Fingers
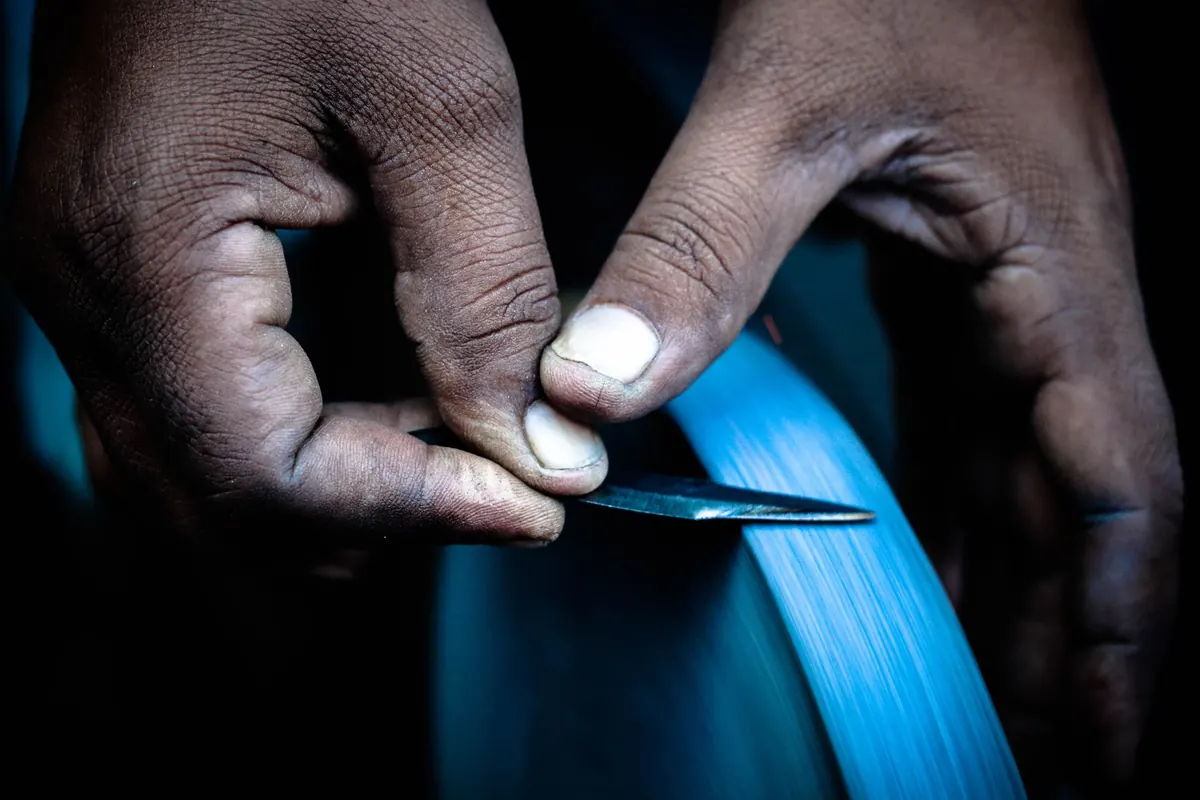
It is not much, but it must be sharp. A dull axe or knife is more dangerous than a sharp one because you have to force it. Keep a stone and a strop nearby and touch up the edge every twenty minutes or so.
- A small carving axe or hatchet — around 500g, with an edge you can get properly sharp.
- A sloyd or Mora-style carving knife with a short blade, 7–8cm.
- A hook knife for hollowing the bowl, right- or left-handed to match you.
- A cut-resistant glove for the hand holding the wood.
- A chopping block or stump, and a saw for cutting logs to length.
A few habits matter more than the tools. Cut away from your body, never towards it. Keep the hand holding the wood behind the blade's path. Work below chest height on a stable surface, and stop when you are tired or rushing.
Choosing a Log and Roughing It Out with the Axe
Splitting the blank
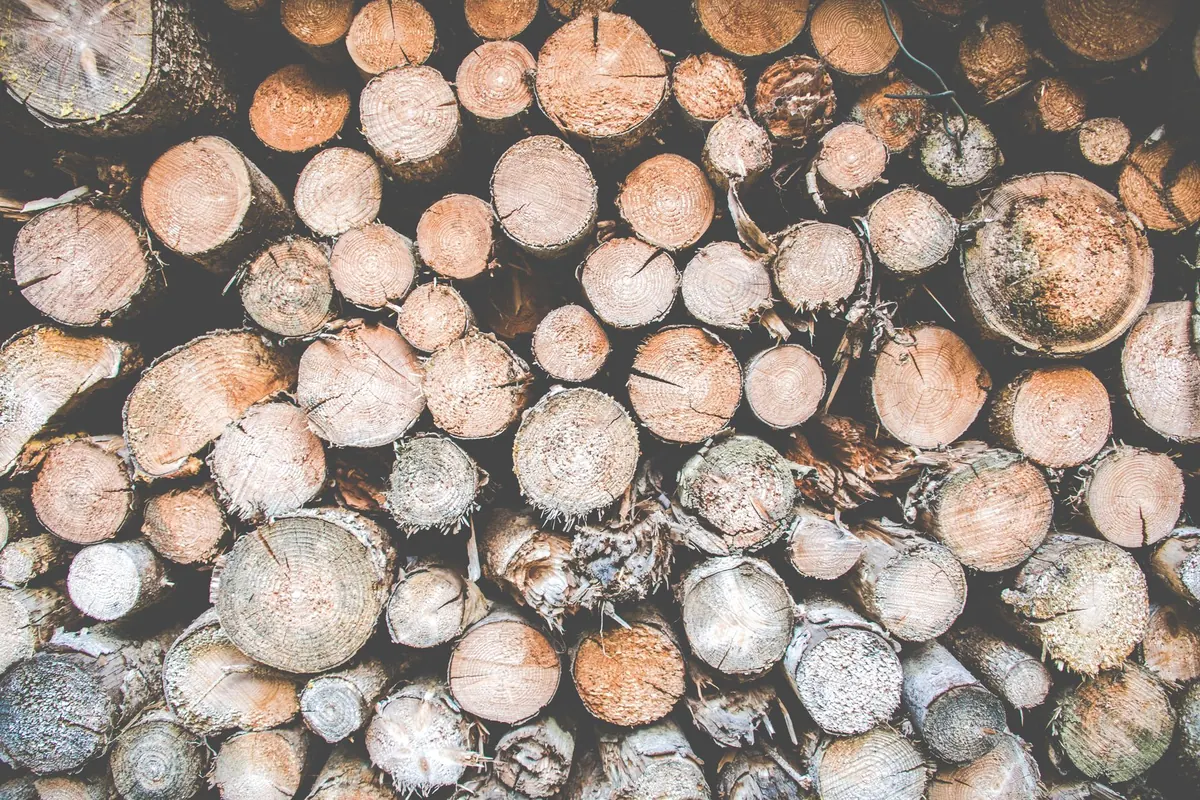
Look for a straight birch log 8–12cm across with no big knots, and cut a 20cm length — roughly a spoon from fingertip to wrist. Saw the ends clean so the blank sits flat. Stand it on the chopping block and split it straight down the middle, through the pith, using the axe and a wooden baton for stubborn wood. Halves are better than quarters: a half-log gives you a flat back for the bowl and enough depth to hollow.
Sketch the spoon on the flat face: bowl about 6cm long and 4cm wide, handle 2–3cm across, narrowing to about 1.5cm at the neck.
Chops that shape
Now the axe does the rough work and the knives do the detail. Rest the blank on the block and chop downwards at a slight angle, taking off corners and waste. Taper the handle, keep it slightly oval so it sits comfortably in the hand, and leave the whole spoon thicker than you want it — you can remove material with a knife, but you cannot put it back. For the bowl, make a shallow stop cut around the outline and chop inwards to start the hollow. Fifteen small chops beat three big ones every time.
Knife Work: Facets and the Bowl
Work the outside first. Three cuts cover most of it. Push the blade away from you with your thumb braced on the spine for the straight cut. Draw the knife back towards you in a controlled slicing pull cut, with the spoon braced against your knee and your elbow tucked in. Use a stop cut — pressing the edge straight down across the grain — to sever fibres at the neck before cutting in from the side.
Watch the grain. If the knife tears the fibres instead of slicing them, you are cutting uphill; turn the blank around and work from the other end. On a spoon the fibres run along the length, so cut from the bowl towards the tip of the handle.
For the bowl, switch to the hook knife. Take shallow scoops, working from the centre outwards and cutting across the grain rather than along it, which is what splits the wood. Brace the bowl against your knee or in the gloved hand, and never lever the blade sideways — hook knives snap at the tip. Aim for walls around 5mm at the rim, a little thicker at the base so the spoon does not flex.
Drying a Green Spoon Without Cracks
A green spoon will move as it dries. Thin, even walls are your insurance. Put the spoon in a paper bag with its shavings, close it loosely and leave it in a cool corner for a week or two, then let it sit in the open indoors for another week or two. Keep it away from radiators, sunny windowsills and car dashboards.
Some carvers boil rough-carved spoons in salted water for about an hour before drying, a traditional trick that seems to calm the wood and speed things along. It is worth trying once you have a few spoons behind you. Small cracks at the end of a handle are common and usually harmless; a crack running across the bowl means the spoon is firewood.
Finishing: Sanding, Oil and First Use
Once the spoon feels dry and light and has stopped changing shape, it is ready to finish. If you like the faceted look of knife marks, leave it as it is. If you want it smooth, sand with 120 grit, then 180, then 240, working along the grain. Wipe it with a damp cloth to raise the grain, let it dry, and sand lightly once more.
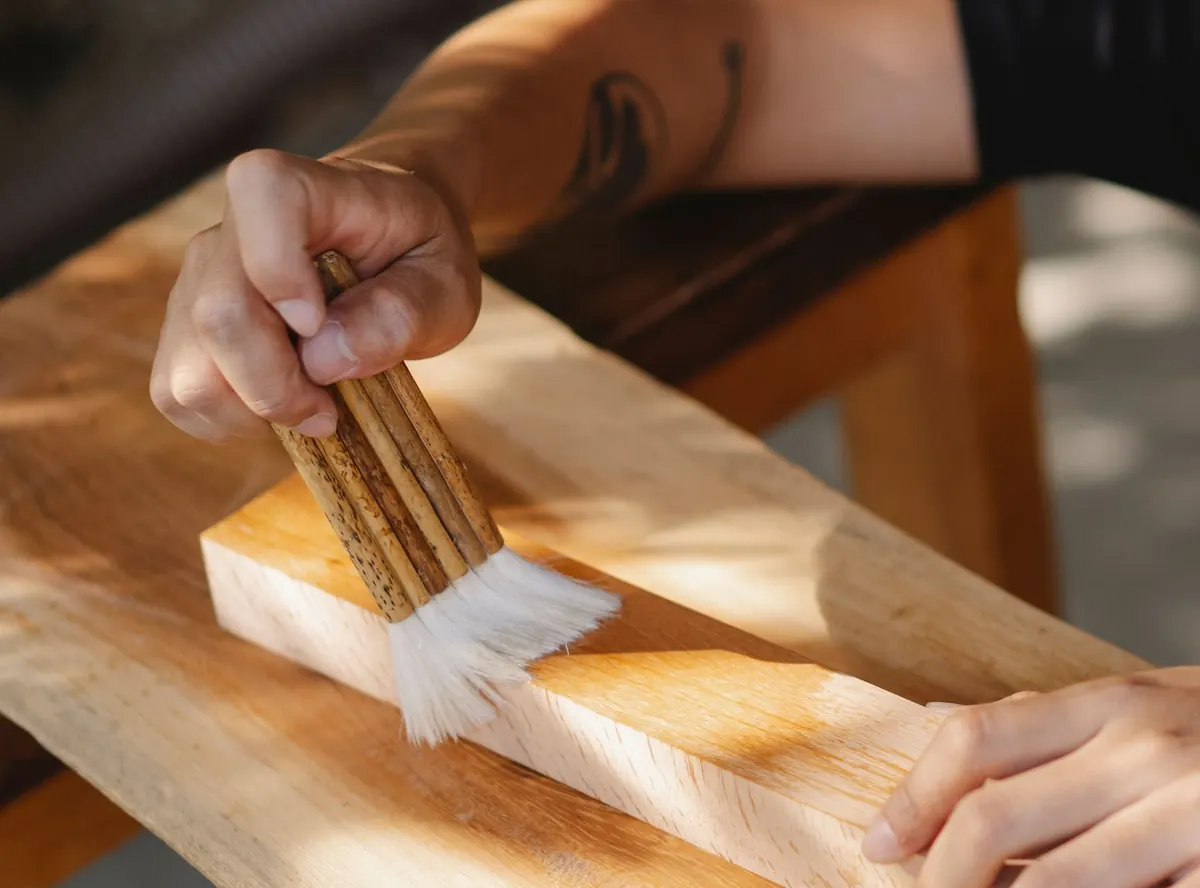
Then oil it with something food-safe: raw linseed (flaxseed) oil, walnut oil, or a shop-bought food-safe wood oil. Wipe on a generous coat, leave it twenty minutes, then wipe off anything that has not soaked in. Repeat daily for a few days, then whenever the wood looks dry. Skip Danish oil, varnish and anything containing metallic driers — fine on furniture, not on something that goes in your mouth.
Wash by hand in warm water, never in a dishwasher, and do not leave it soaking in the sink.
Make the Second One Better
Carve three spoons from one log rather than one. They are small, the third will be twice the spoon the first one is, and you will learn faster than you would fussing over a single careful attempt. Sharpen often, keep your hands out of the blade's path, and use the finished spoon — stir with it, cook with it, and see how it feels in the hand. It will tell you what to change next time.
Photo: Sóc Năng Động / Pexels