September 20, 2026
The first genuinely cold morning catches most workshops out. You lift the cover off the table saw and find a bloom of rust across a table you left clean. The bottle of PVA at the back of the shelf has gone lumpy, the board you milled last week has cupped, and the drawer that slid sweetly in September now needs a shoulder to close it. None of that is bad luck. It is what cold, damp air does to metal, glue and timber, and a weekend of preparation now saves a winter of small irritations.
The awkward truth is that the damage happens slowly and silently. Nothing dramatic announces itself. The rust creeps, the glue thickens, the timber moves a millimetre at a time, and by February you are quietly annoyed at your tools, your materials and probably yourself. A couple of hours spent now, while the weather is merely turning, keeps the workshop honest through the worst of it.
Start With Rust, Because It Starts First
Warm, damp air meeting cold steel is all it takes. Moisture condenses on the coldest surface in the room, and in a workshop that is usually a cast-iron table, a vice or a drawer of chisels. Mild, misty days in November are worse than hard frosts, because the air holds plenty of water while the metal stays cold.
A workshop that drops to 5°C overnight and is warmed to 18°C in the morning is a condensation machine. Rust needs a temperature difference, a little humidity and bare steel. Remove any one of the three and you have largely solved it.
Think about the physics rather than the folklore. Cast iron has a lot of thermal mass, so it lags hours behind the air around it. On a mild morning the air can be sitting at 12°C and holding plenty of moisture while the saw table is still at 6°C from the night before. Water has to go somewhere, and it goes onto the metal. That is why a machine under a plastic tarpaulin rusts faster than one left bare — the sheet traps a thin layer of damp air against the cold surface and gives the water nowhere to escape.
A Rust Prevention Routine That Holds
You do not need a chemistry set, just a routine you will actually keep:
- Wax bare surfaces. Paste wax or a proprietary tool protector, applied thinly and buffed, protects tables, fences and vice jaws. Reapply monthly through winter, and any time a surface feels tacky.
- Give hand tools something to absorb moisture. Silica gel sachets in drawers and chests work well. Dry them on a radiator now and then so they keep working.
- Cover machines with cotton, not plastic. Plastic traps condensation against the metal; an old bedsheet lets air move.
- Use VCI paper (vapour-phase inhibitor) in drawers and boxes holding small tools and spare blades.
- Watch the humidity. A cheap hygrometer tells you more than your hands do. Aim for roughly 45–60% relative humidity and run a small dehumidifier when it climbs.
- Fix damp at source. A dripping gutter, a blocked airbrick or timber stacked against a cold external wall all push moisture inward. Ten minutes with a torch on a wet day will show you exactly where the water is getting in.
- Keep the coldest steel slightly warm. A 60W tube heater under a saw cabinet or a low-wattage bulb in a tool cupboard is often enough to lift metal above the dew point. It costs pennies and saves a season of wire wool and oil.
The rule is simple enough to remember: a cold surface in damp air will always collect water, so either warm the surface or dry the air. You never need to do both.
Glue, Finish and the Chemistry of a Cold Room
The rust is the visible problem. The invisible one is that most of what you use to stick things together stops behaving below about 10°C, and stops behaving permanently below 5°C.
- PVA. Once it has gone lumpy in the cold it will not come back. Chalky, stringy glue means a weak joint you will only discover when the glue-up is under load. Store it indoors, and bring the bottle into the house if the workshop is unheated.
- Hide glue and epoxy. Both want warmth. Epoxy that cures at 8°C may take days to harden and never reach full strength. If the workshop is cold, mix smaller batches, work near a heater, and give joints longer in the clamps than the label suggests.
- Oil and water-based finishes. Cold oil finishes thicken and drag; water-based ones can turn jelly-like. Both are better stored above 10°C and brought up to room temperature before use.
- Solvent finishes and aerosols. Cold lacquer and shellac are prone to blushing — a milky haze caused by moisture trapped in the film. Aerosol cans lose pressure and sputter when cold. Warm a can in a bucket of warm water for ten minutes before spraying, never near a flame.
- Cyanoacrylate and contact adhesive. Both go thick and slow in the cold, and both have a shelf life that shortens with every freeze-thaw cycle.
A simple cupboard rule works well: anything that comes out of a bottle, tin or can lives indoors from October to March, and only visits the workshop for the job itself.
Timber Needs Time to Settle
That board you milled last week and left on the bench has been quietly taking on moisture on one face. The result is cupping, and no amount of clamping will fix it once it has happened. Timber always moves toward the moisture it meets, and a cold, damp workshop is not the same environment as the suppliers' yard or your house.
Bring stock in early — a fortnight at least, a month is better — and let it sit in the space where it will be worked. Stack it flat, off the floor, on stickers so air can move around every face, and never lean boards against a cold external wall. Keep an eye on the moisture content if you have a meter: for interior work you are looking for something in the region of 8–10%, and a board reading 14% will shrink noticeably once it moves indoors.
When you do machine timber in winter, leave it a millimetre or two oversize, let it rest overnight, and take the final cut the following day. It sounds fussy. It is also the difference between a door that shuts in June and one that has to be planed in April.
Heat, Air and the Condensation Trap
Two instincts fight each other in a winter workshop. The first is to seal every gap and keep the heat in. The second is to open the door and let the damp out. Both done to excess cause trouble.
A sealed workshop full of human breath, damp timber and a wet floor is a slow-motion rust factory, because the moisture has nowhere to go. A wide-open one is simply a cold shed with tools in it. The compromise is a small amount of background warmth, a door or window cracked for ten minutes after a dust-heavy session, and consistent temperature rather than violent swings.
If you use a propane or paraffin heater, remember that burning fuel produces water as well as heat — a lot of it. The room feels warm and the metal gets wetter. Electric heaters dry the air as they warm it, which is why a modest electric tube heater plus ventilation usually beats a roaring flame. If you use any combustion heater, fit a carbon monoxide alarm and treat it as non-negotiable.
Light, Comfort and the Dark Afternoons
By late November it is dark at half past four, and most of your work happens under artificial light. Poor light is a safety issue, not a luxury: you cannot see a marking line, a kickback zone or a frayed cable in a gloomy corner.
- Add task lighting over the bench and the saw, and keep cables out of walkways.
- Check extension leads for cracked insulation — cold makes old rubber brittle.
- Clean the extractor, filters and ducting. Fine dust is a fire risk, and a cold workshop is often a dry one under the heater.
- Keep a fire extinguisher and a first-aid kit on the wall where you can reach them with your eyes half shut.
- Warm hands hold tools badly. Fingerless gloves, a decent jumper and an anti-fatigue mat at the bench make a real difference to control, and never wear loose gloves near anything that spins.
The Weekend Checklist
- Sweep out, clear the floor and get everything off the ground on racks or bearers.
- Wax every bare machine table, fence, vice jaw and hand-plane sole.
- Move glue, finishes and aerosols indoors for the winter.
- Dry out and redistribute silica gel sachets; add VCI paper to tool drawers.
- Set up a hygrometer and aim for 45–60% relative humidity.
- Find and fix the draughts, drips and damp patches — gutter, airbrick, door seal.
- Bring in the timber you plan to use before Christmas, stacked flat on stickers.
- Add a small background heater, or a tube heater in a tool cupboard.
- Service the extractor, check cables and leads, and test the extinguisher.
- Improve the lighting over the bench, and lay in a stock of wire wool, oil and paste wax.
One Day Now, One Winter of Easy Work
None of this is glamorous. Waxing a table saw and stacking boards on stickers is not the part of woodwork anyone daydreams about. But it is the part that means that on a freezing Saturday in January you can walk in, switch on the light, pick up a chisel that is clean and sharp, and get straight to the good bit. Spend a day on the checklist now, and the winter will pass without a single rusted table, lumpy bottle or cupped board to interrupt you.
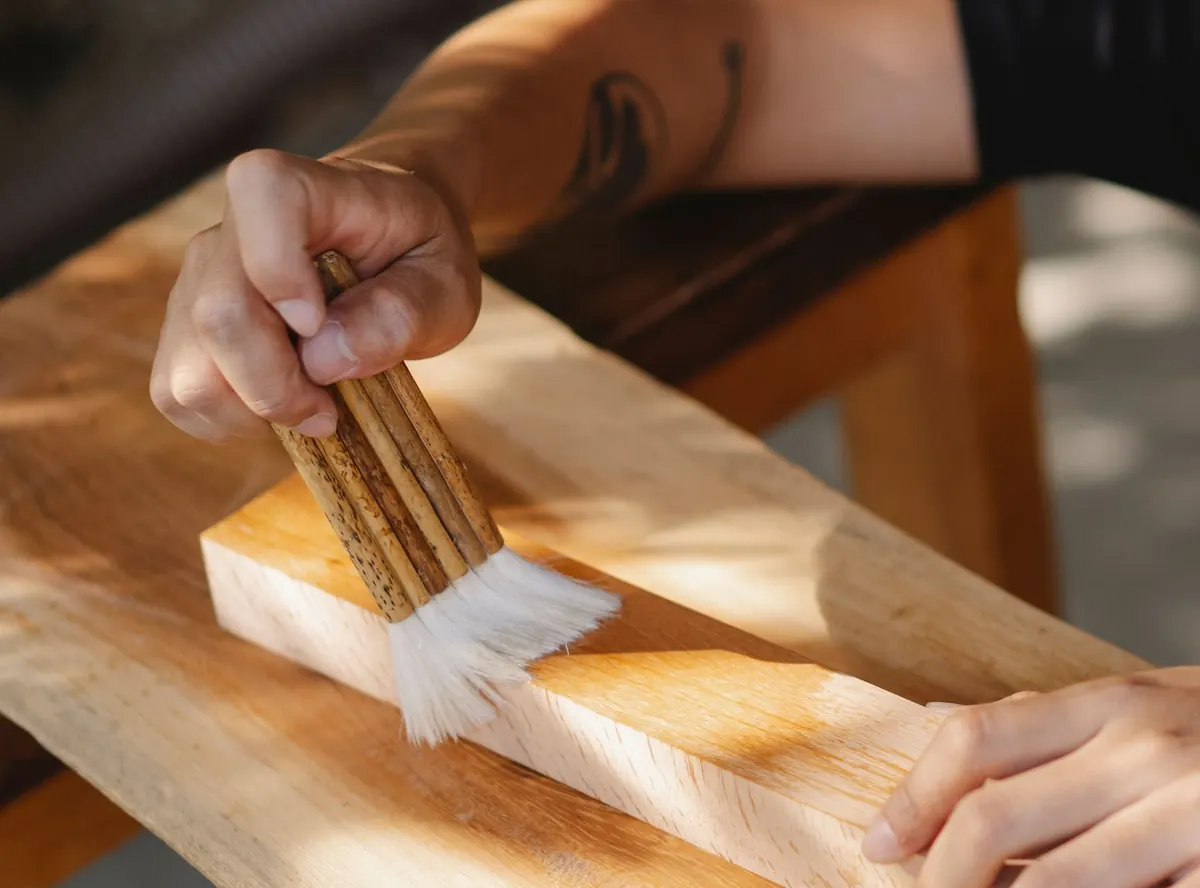
Photo: Sami TÜRK / Pexels